
Overview
Episode 17.1 brings about the main story quest entitled, “Illusion” which is a continuation of the Terra Gloria main quest from Episode 16.2. It revolves around the continuation of the investigations from the previous main story by exploring the Rudus Dungeon, retaking the Regenschirm Laboratory, traversing through OS and arriving at Cor. This comprehensive guide will cover the main story and side quests in the hopes to aid players into finishing them. Accomplishing these will not only reward players with EXP, Cor Cores and Mysterious Components (which are used to exchange for various equipment and enchant them), but will also unlock repeatable instances and daily quests to help farm for said materials.
Just a reminder: Clicking on the navigation codes (which start with /navi) throughout this guide will copy the command which you may then enter via in-game chat.
Main Quest
Note: If you’ve used the episode skip ticket, start at step 2.
Part 1: Investigation of Rudus Dungeon
- Requirements
- Required Level: 110
- Quest Prerequisite: Terra Gloria
- Monster Hunting: Dolor x10, Venenum x10, Twin Caputs x10
- Rewards
- Base EXP: 800,000
- Job EXP: 800,00
- Item Reward: Cor Cores x15
Quest Rewards: Access to Rudus Dungeon; access to Side Quest: Learning about Morning
1. Speak to Nihil at /navi prt_cas_q 21/39 inside your personal room in Prontera Castle to begin the main quest. Afterwards, proceed to Einbech and make your way to the Clana Nemieri Rebel Base, just outside the entrance.

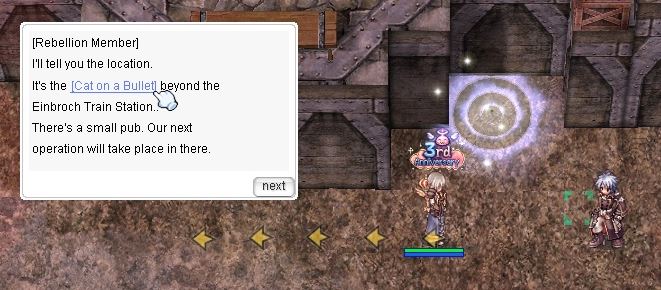
2. Proceed to Einbech and talk to Rebellion Member at the Clana Nemieri Rebel Base, just outside the entrance /navi einbech 218/80 . He informs you about Cat on a Bullet, the new Rebel base’s expansion in Einbroch.
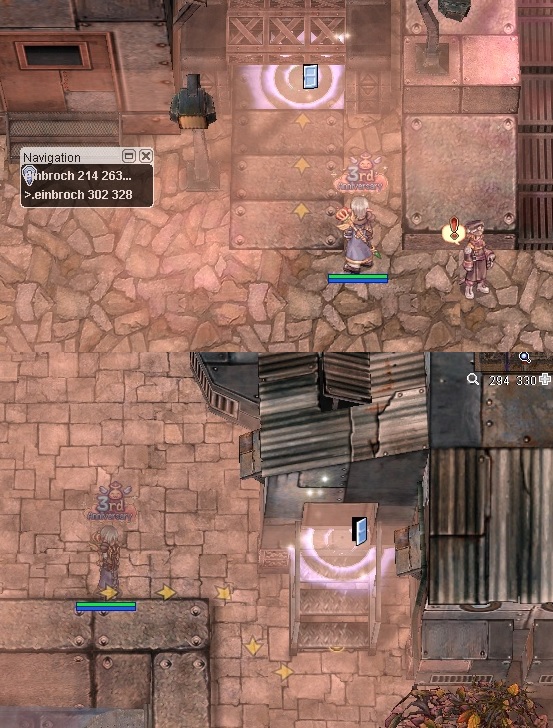
3. Locate the Cat on a Bullet base at /navi einbroch 302/328 . Enter it, and speak to Philofontes at /navi pub_cat 93/105 . He relays information from the Werner Laboratory raid, and tasks you to investigate an abandoned mine in Einbroch Field 05 (one North, one East from Einbroch).
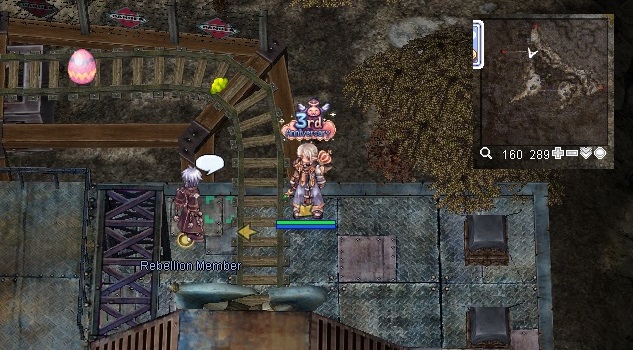
4. Proceed to Einbroch Field 05 and speak to the Rebellion Member at /navi ein_fild05 156/288 to enter Rudus Dungeon. At this point, all floors of Rudus Dungeon and the side quest “Learning about Morning” are now accessible.
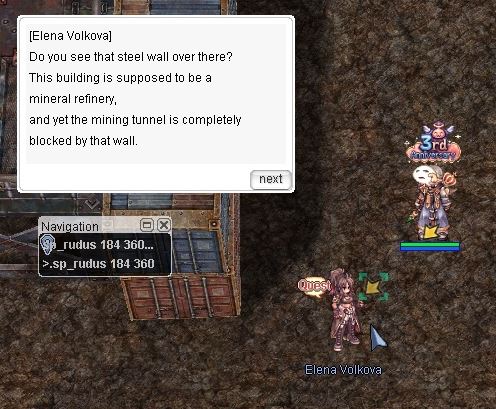
5. Once inside, talk to Elena Volkova at /navi sp_rudus 184/360 near the entrance. She mentions a suspicious wall erected and that investigation may take longer than originally planned.
6. Next, speak to Lookie at /navi sp_rudus 193/284 . He asks help investigating a three-layered door in the dungeon and looking for a way to enter through. Yellow “+” marks will display in your minimap on where to proceed next. Locate and interact with the following NPCs:
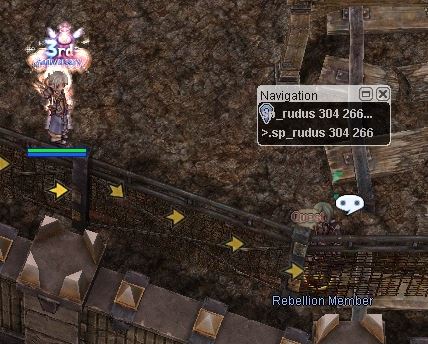
6a. Rebellion Member at /navi sp_rudus 304/266 regarding a Railroad Wall
6b. Rebellion Member at /navi sp_rudus 121/286 regarding a Watchtower

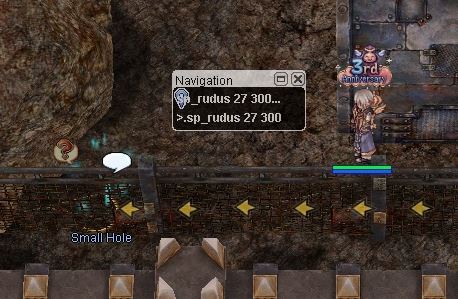
6c. Hole at /navi sp_rudus 27/300
7. After investigating all three parts, make your way back to Lookie at /navi sp_rudus 193/284 , who has unlocked the door but is required to keep hold of the mechanism doing so (perhaps to contain some entity from the other side).
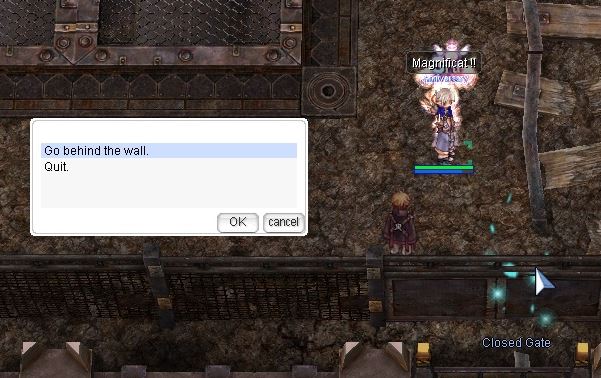
8. Lookie then instructs the player to go through the Gate and continue investigating. Click the Closed Gate and select “Go behind the wall.” Proceed to killing 10x Dolor, 10x Venenum and 10x Twin Caputs. Note that some monsters may spawn outside, and defeating them will still grant a kill count to the quest.
 | Dolor Lv122 Demi-Human, Medium, Poison 2 HP 40204, ATK 1099-1550, MATK 583-920 DEF 227, MDEF 28 Required HIT 393, Required FLEE 403 |
 | Venenum Lv123 Brute, Medium, Poison 2 HP 40720, ATK 1147-1620, MATK 386-578 DEF 242, MDEF 28 Required HIT 360, Required FLEE 396 |
 | Twin Caput Lv125 Demi-Human, Medium, Dark 2 HP 41735, ATK 1029-1448, MATK 459-704 DEF 269, MDEF 27 Required HIT 370, Required FLEE 385 |
9. Report the incident to Lookie /navi sp_rudus 193/284 after accomplishing all kills. You may return to him via teleporting or by going through the Closed Gate and selecting “Go behind the wall.” He then confirms that the wall was designed to contain these monsters.

10. Head back to Elena Volkova at /navi sp_rudus 184/360 to relay the report. She will reward the player with Base EXP, Job EXP and 15x Cor Cores.

11. Head back to the Cat on a Bullet Base and speak to Tes /navi pub_cat 93/105 . He then tells the player the place was used as a dump for failed test subjects.

Part 2: Retaking Regenschirm, the Rekenber Laboratory
- Requirements
- Required Level: 110
- Monster Hunting: Sorrow Crob
- Rewards
- Base EXP: 1,000,000
- Job EXP: 800,000
- Item Reward: Mysterious Components x25
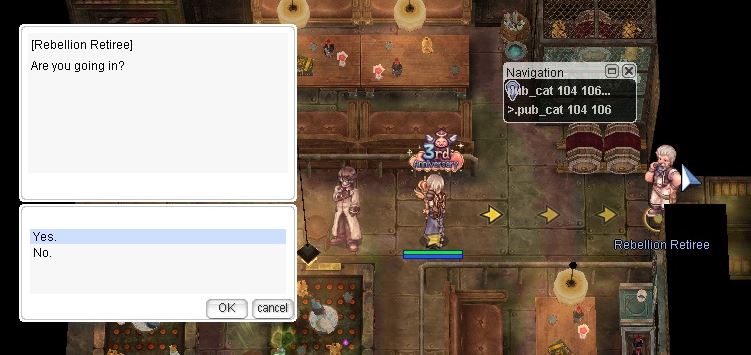
1. Tes mentions a guest at the back room of the base. Make your way there by speaking to the Rebellion Retiree /navi pub_cat 104/106 .
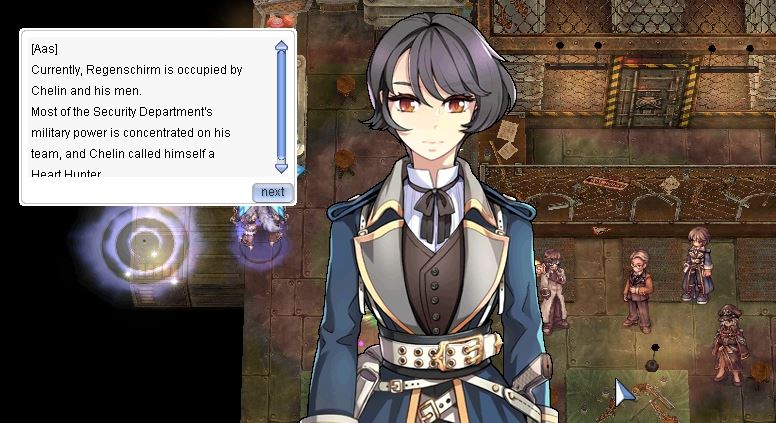
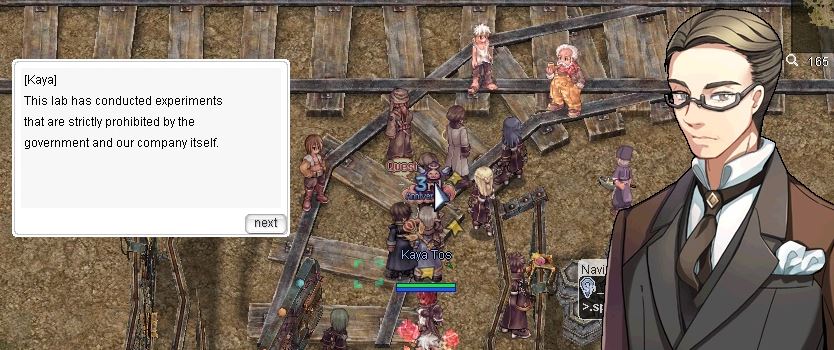
2. Inside the back room, talk to Tes to initiate a conversation between him, Kaya Tos (Middle-aged Gentleman), Aas and Est Loveroy. You learn about Regenschirm, the Rekenber annex lab, which was taken over by individuals under Chelin’s command (ex-Rekenber security captain).
3. After the conversation, speak to Kaya Tos and request to help Est Loveroy in retaking the lab.
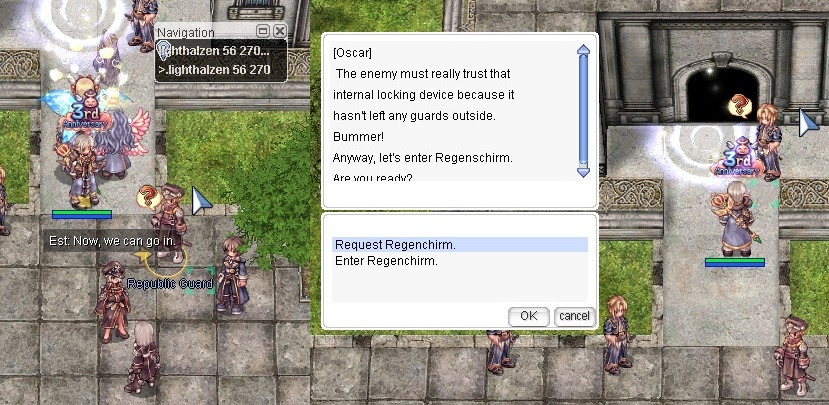
4. Make your way to Lighthalzen and interact with the Republic Guard at /navi lighthalzen 56/270 . Est Loveroy and Aas’ Rekenber Guards will be preparing alongside. Then, speak to Rekenber Guard Oscar /navi lighthalzen 55/278 to generate and enter the instance, and hunt Sorrow Crob.
Regenschirm Instance Proper
Note: This main quest instance can be done either solo or in a party. Support classes who do not have access to DPS skills are recommended to be accompanied with damage-dealing classes. It has a time limit of 1hr, and it can be created, entered and destroyed as many times until the boss is defeated.
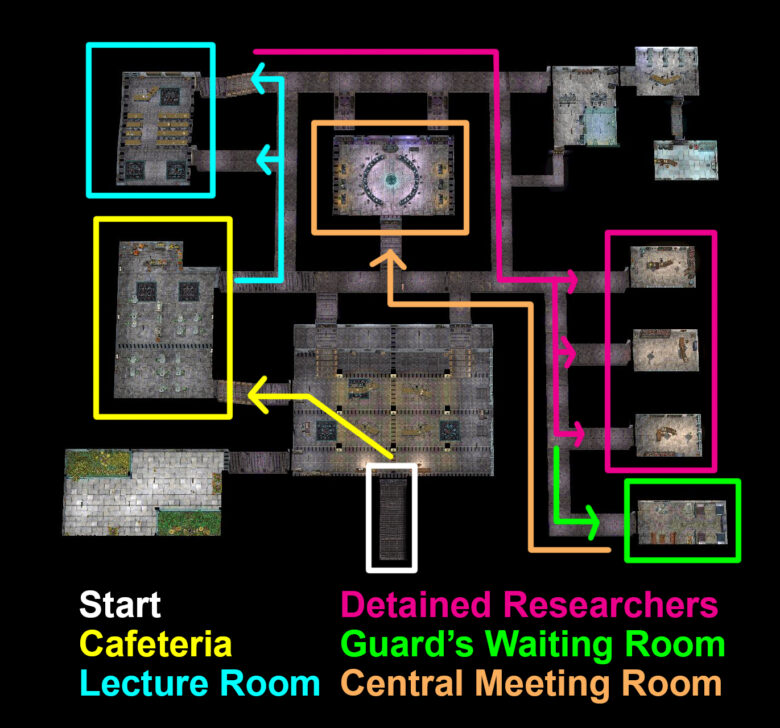
Area 1: Cafeteria
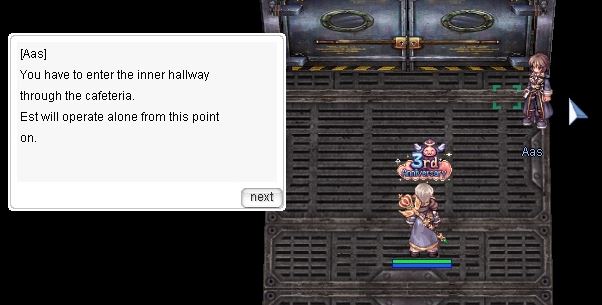
1. Once inside the instance, head North and speak to Aas to open the door. She mentions supporting the player by using the control panel. Talk to her again to proceed to the other side.
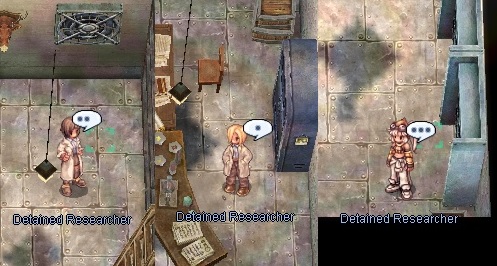
2. Proceed Northwest and pass through the half-open doorway, leading to a flight of stairs towards the cafeteria. Inside are three Researchers being held captive by Traitors (sprites are Heart Hunter Guards), which need to be eliminated in order to set the Researchers free.
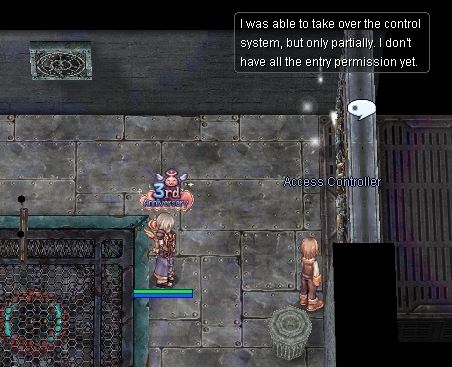
3. Interact with the Access Controller near the Northeast door of the Cafeteria afterwards. Aas will speak through it, and will ask you to have a Researcher use biometrics to open the door.
4. Once Aas has finished talking, speak to the Researcher beside the door. He will use his biometrics to activate a portal and help the player pass through to the next area.
Area 2: Lecture Room
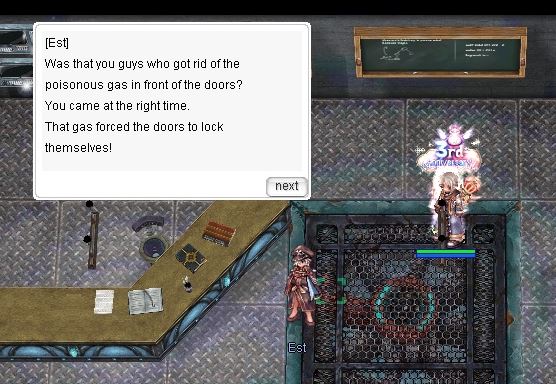
1. After leaving the Cafeteria, head down the hallway, take the turn heading North, and then West to reach the first door of the Lecture Room. Eliminate the Fatal Pompoms (Purple-colored Venomus gas monsters) which spawn outside the door. Head further North + West to reach the second door, and eliminate the Fatal Pompoms outside it as well.

2. After eliminating the monsters, Est will call for the player. Approach the Northern entrance of the Lecture Room hall. Go through the portal and speak to Est at the other side.
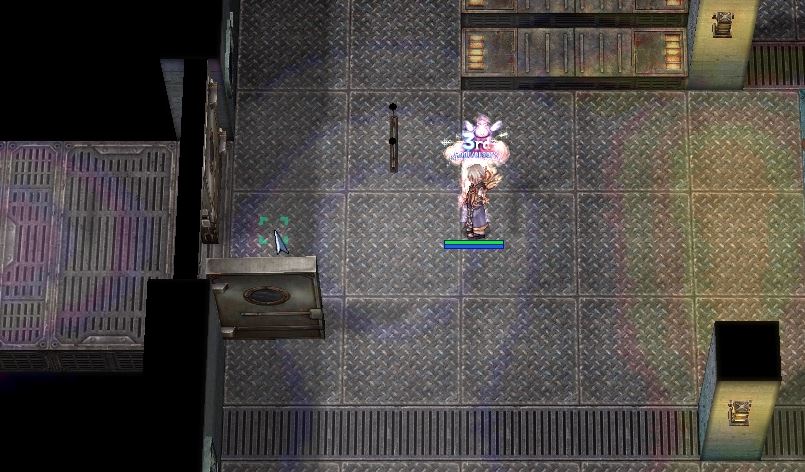
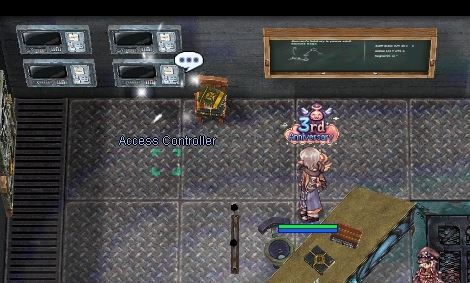
3. You are tasked to relay a message to Aas using a specific code. Find the Access Controller by the blackboard and use the code “0315” on it. She mentions that she has gained full control over the security controller. She and Est tell you to check the Guards’ Waiting Room at the Eastern side of the lab. Exit through the Northern portal to return to the main hallway.
Area 3: Rooms with Detained Researchers
1. From the main hallway, head East, fighting the monsters that appear along the way. After reaching the end of the hallway full of Fatal Pompoms, take the South hallway, and then take the second East hallway. This will bring you to a series of four rooms at the very end. All Fatal Pompoms outside of these rooms need to be defeated in order to proceed through the portals of each room.
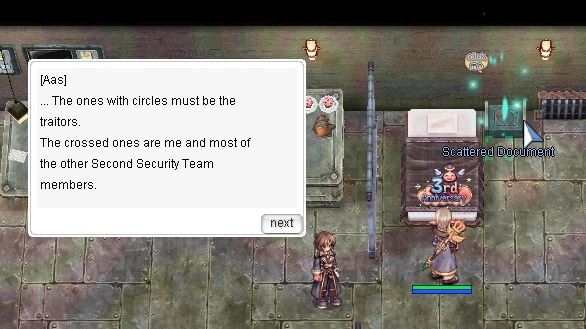
2. Talk to the Detained Researcher in each of the first three rooms. After talking to all three Detained Researchers from the previous room, enter the fourth room (Guards’ Waiting Room).
Area 4: Guards’ Waiting Room
1. Once inside the Guard’s Waiting Room, walk East until you find Aas. She mentions finding the spare master key, and that Chelin and his fellow traitors have left. You are tasked to check the central meeting room.
2. Before leaving the room, collect scattered documents on top of the nearby drawer. This will trigger the Data Obtained from the Lab Side Quest.
Area 5: Central Meeting Room
1. Make your way to the Central Meeting Room (coordinates 125, 157) and be reunited with Est and Gony.
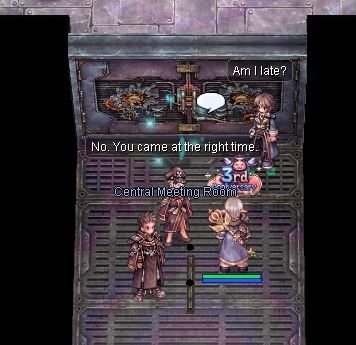
2. Aas appears shortly after. Speaking to her will trigger an exchange of dialogue between NPCs. Speak to Aas again in order to enter the room.
3. Walk North and find the Retrained Test Subject. Approach and interact with the NPC to proceed to the next step.
4. Controllers are located around the central room. Interact with them using the order below, and press the color of the button which matches the light aura:
| Panel Location | Aura and Button Colors |
| Top Right | Blue |
| Bottom Left | Red |
| Bottom Right | White |
| Top Left | Yellow |
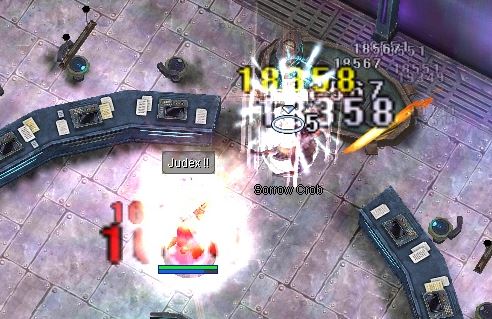
5. Sorrow Crob will appear afterwards. Defeat her in order to advance.
| Traitor (Heart Hunter Guard) Lv105 Demi-Human, Medium, Dark 2 HP 41428, ATK 1021-1443, MATK 335-496 DEF 73, MDEF 42 Required HIT 411, Required FLEE 420 | |
 | Fatal Pompom Lv112 Formless, Medium, Poison 3 HP 35000, ATK 859-1201, MATK 296-407 DEF 85, MDEF 42 Required HIT 396, Required FLEE 420 |
 | Sorrow Crob Lv 111 Demi-Human, Medium, Neutral 2 HP 3441000, ATK 2991-4351, MATK 1481-2621 DEF 42, MDEF 65 Required HIT 388, Required FLEE 516 |
Note: Sorrow Crob has access to various skills such as Fire Bolt, Pneuma and Decrease AGI
6. As soon as Sorrow Crob is defeated, Aas finally enters the room. Seeing the player is fine, she offers the player the following options:
6a. Go to Einbroch (easier return to Cat on a Bullet Base for continuing the quest)
6b. Go to Lighthalzen (warps you outside the instance and in front of Guard Oscar)
6c. Don’t Leave
7. Return to the Cat on a Bullet Base and find Tes at /navi pub_cat 93/105 . He has been worried because Est only came back alone. Report the happenings at Regenschirm, and he will reward the player with Base and Job EXP, as well as 25x Mysterious Components.
Part 3: Rekenber’s Missing Employees Investigation
- Requirements
- Required Level: 110
- Quest Prerequisite: Retaking Regenschirm
- Rewards
- Base EXP: 1,200,000
- Job EXP: 1,200,000
- Item Reward: Cor Cores x20
1. Inside the Cat on a Bullet Base, locate and speak to Leizi /navi pub_cat 106/69 who refers to himself as Mr. Dage and discusses the validity of the Rekenber investigation with Kaya Tos (Middle-aged Gentleman).
2. Talk to Leizi /navi pub_cat 105/59 after he moves to another table, and he vents about his frustrations with Kaya Tos and how he’s handling the investigation. He then shows you a document entitled “Rekenber List of Disappearances.”
3. Speak to Kaya Tos next, who then defends himself that the document used in the investigation is official and not forged, and wishes to speak to someone else. During your conversation, Leizi keeps cutting in, showing he wants to save time and go straight to investigating. Kaya Tos then asks you to give him some more time to think.
4. Talk to Leizi again. Kaya Tos and Aas move closer and join in the conversation. They mention a list containing missing Rekenber employees, and you suggest having a joint investigation about this. After talking to the NPCs, the player will be rewarded with Base and Job EXP.
5. Make your way to the Einbroch airport and speak to Leizi sitting by the left-side benches at /navi einbroch 42/208 . He gives more information about the investigation, and proceeds to pick a single individual to continue: Patrick Kaufman or Patsy for short.
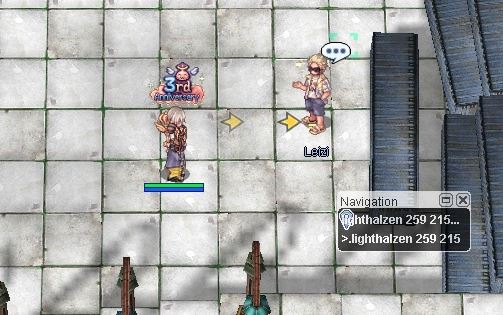
6. After the dialogue, you will be teleported to Lighthalzen. Locate and speak to Leizi near the slums entrance at /navi lighthalzen 259/215 .
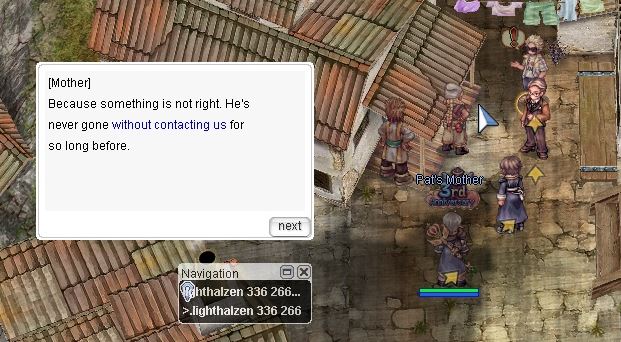
7. After the previous conversation, Leizi will bring you into the Lighthalzen slums. Once there, walk northeast and speak to Leizi at /navi lighthalzen 336/266 . He mentions Patsy who has been sending money to his parents and has promised to visit his family on vacation. After the dialogue, he will reward the player with Base and Job EXP.
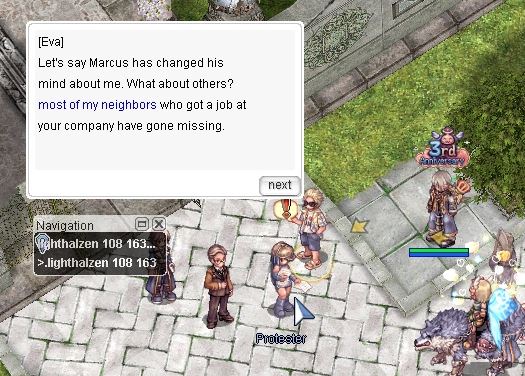
8. After leaving the slums, make your way to the entrance of the Rekenber HQ building and talk to Leizi at /navi lighthalzen 108/163 . There, the Protester Eva appears to look for Marcus Holtzman, as well as complain that most of her neighbors have gone missing after getting a job at Rekenber.
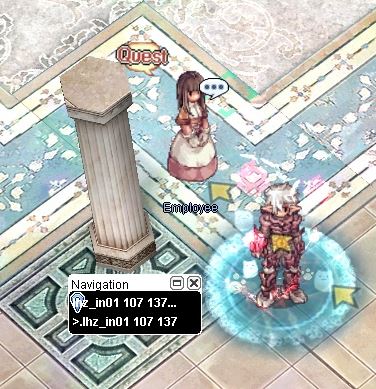
9. Enter the building and speak to the First Employee /navi lhz_in01 107/137 .
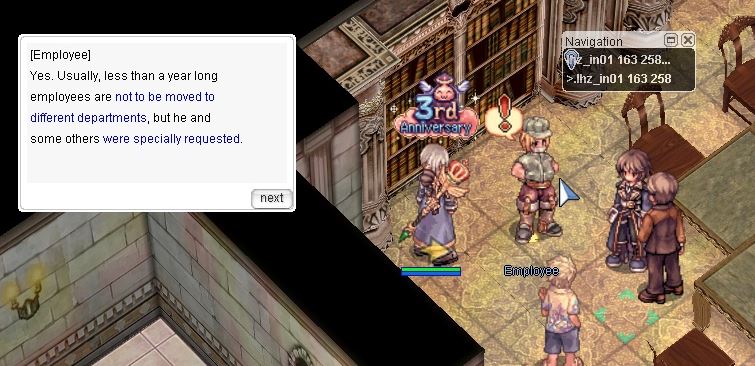
10. Continue the investigation by going to the second floor through the East-side flight of stairs. Speak to the Second Employee /navi lhz_in01 163/258 .
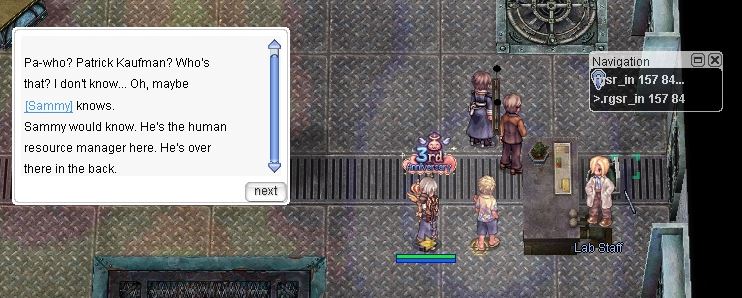
11. Make your way to Regenschirm /navi lighthalzen 53/277 . Once inside, head East and speak to Lab Staff at /navi rgsr_in 158/83 .
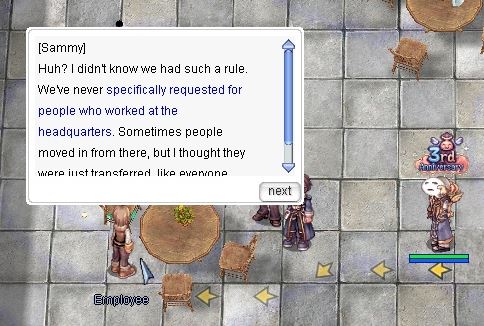
12. Proceed to the South-West room and interact with the Employee, Sammy /navi rgsr_in 18/49 .
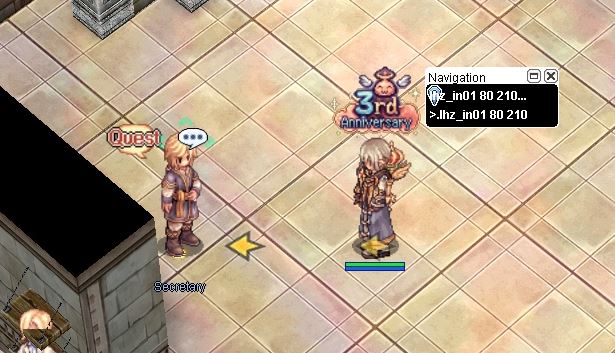
13. Return to the Rekenber HQ building. Make your way behind the left set of stairs and speak to the Secretary, Gray Earl /navi lhz_in01 80/210 .
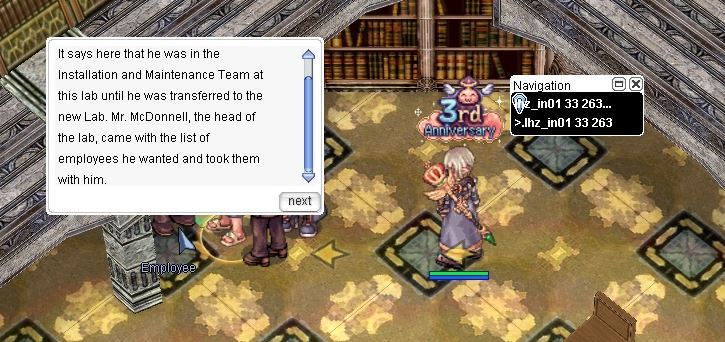
14. Make your way to the Documents Archive and speak to the Employee /navi lhz_in01 33/263 . More information about Patrick Kaufman is revealed, including his previous department and the person who wanted him transferred into the new lab.
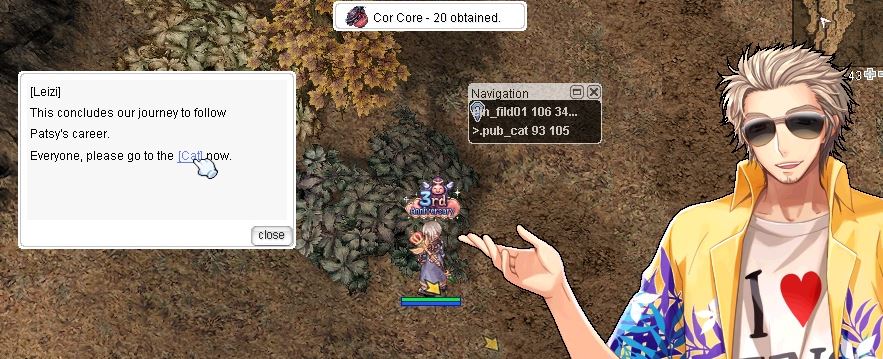
15. Head to Einbroch Field 01 and speak to Kaya Tos at /navi ein_fild01 95/146 . It is revealed that there was no laboratory in the area, and that he realizes that official papers might have been fabricated after all. Leizi assures to continue investigating to find where these hidden labs could be. The player will then be rewarded with Base/Job EXP and 20x Cor Cores.
Part 4: Old Memories and the OS Instance
- Requirements
- Required Level: 110
- Quest Prerequisite: Rekenber Investigation
- Rewards
- Base EXP: 900,000
- Job EXP: 800,000
- Item Reward: Mysterious Components x25
- Quest Reward: Access to Side Quests: OS Occupation, Finding Patrick; Access to Daily Quest: Mercenary vs Mercenary
1. Speak to Philofontes at Cat on a Bullet Base /navi pub_cat 93/105 . He informs you to speak to the Rebellion Member in Einbroch Field 03 (one North + one West from Einbroch).
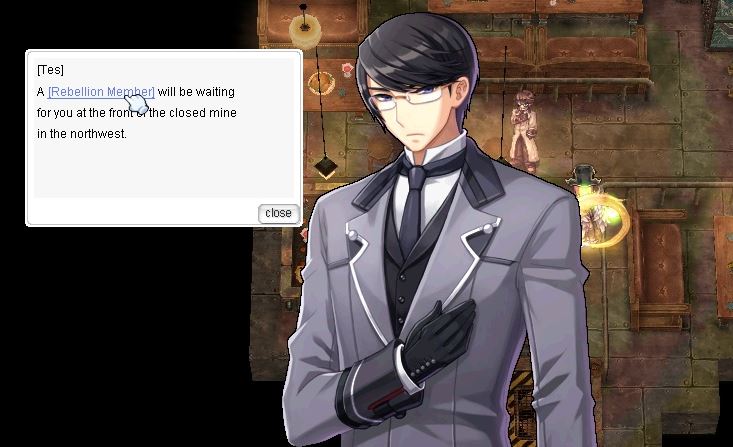
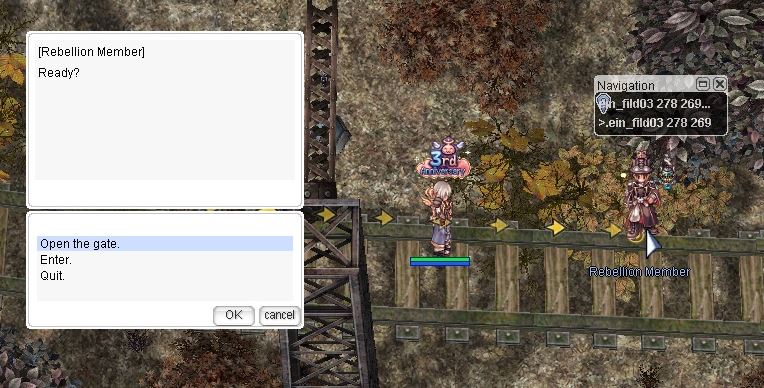
2. Locate and speak to the Rebellion Member at /navi ein_fild03 278/269 , who then instructs you to investigate the area (follow the Navigation system coordinates):
- /navi ein_fild03 347/219
- /navi ein_fild03 268/207
- /navi ein_fild03 218/266

3. Return to Rebellion Member afterwards and he will reward the player with Base/Job EXP.
4. Talk to the Rebellion Member again to generate the OS Main Story Instance and then speak to him once more to enter it.
OS Instance Proper
Note: This main quest instance can be done either solo or in a party. Support classes who do not have access to DPS skills are recommended to be accompanied with damage-dealing classes. It is possible to rush through the monsters if the players are able to avoid them.
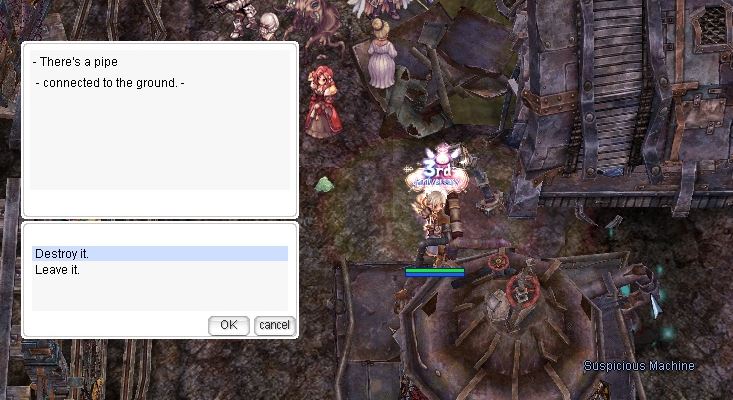
1. Once inside, speak to Ridsh. Cotness, Dien and some monsters will spawn soon after. Proceed to walk through the portal to the right and eliminate the monsters.

2. Locate the Suspicious Machine with glowing blue effects. Interacting with it will show that it is a pipe connected to the ground. Choose the “Destroy it” option in order to proceed.
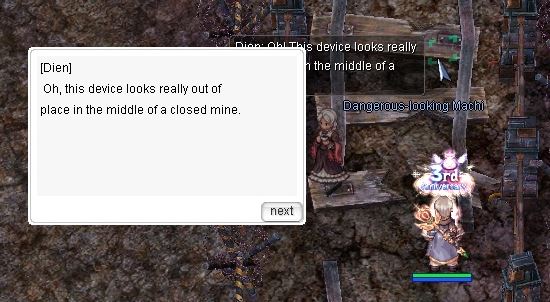
3. Go back to the train tracks, and follow them north until you meet up with Dien. Speak to her, and then to the Black Portal. She tells you to take a detour as this area cannot be passed yet.
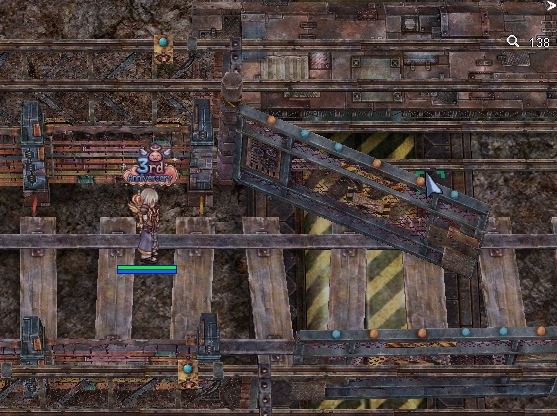
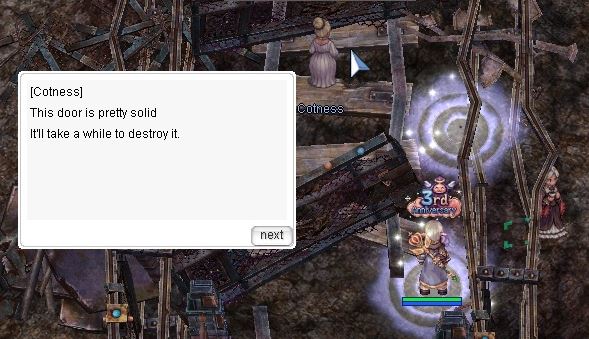
4. Walk back where you came from until you see a partially-opened metal gate. Go through it and find three Thick Cables (they have glowing blue aura effects similar to Suspicious Machine in #2). Click on all three of them to turn off the black portal blocking train tracks. Once Ridsh says a path is opened, move back to the train tracks and proceed North again.
5. Continue following the train tracks until you meet up with Dien and Cotness. Interact with them, and they say to take the right-side path. Proceed East through the portal until you meet up with Ridsh who is ambushed by monsters. Erst, Dien and Cotness appear soon after. After their conversation, proceed through the portal.
6. Make your way Northeast until you see the train tracks again. Black portals along the way will summon monsters from Rudus, as well as some Heart Hunters. Fight or avoid them until you reach Erst and the Three Rebellion Ladies.
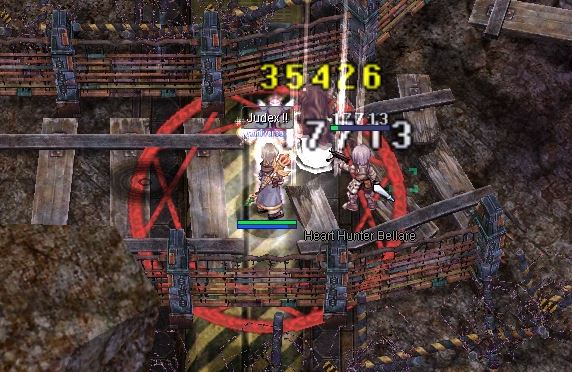
 | Heart Hunter Bellare Lv120 Demi-Human, Medium, Neutral 2 HP 29619, ATK 848-1184, MATK 469-724 DEF 146, MDEF 27 Required HIT 392, Required FLEE 421 |
 | Heart Hunter Sanare Lv120 Demi-Human, Medium, Neutral 2 HP 30159, ATK 783-1089, MATK 535-838 DEF 200, MDEF 130 Required HIT 371, Required FLEE 407 |
7. Speak to Dien who instructs you to retrieve her lucky charm back at Clana Nemieri. She will then reward the player with Base/Job EXP and 25x Mysterious Components. You will then be warped back to Einbroch Field 03.
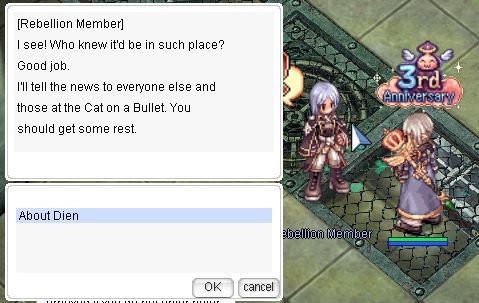
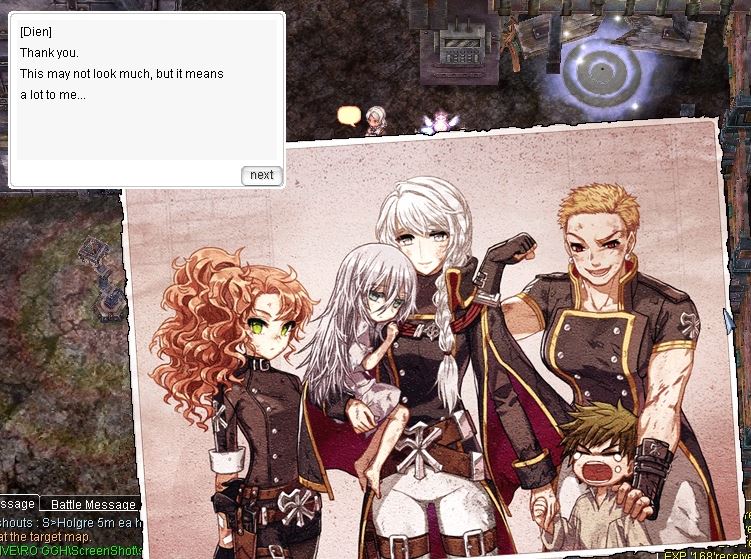
8. Head to Einbech and enter the Clana Nemieri Rebel Base. Find and speak to Rebellion Member at /navi rebel_in 68/41 . Ask about Dien, and she will direct you to her room on the second floor. Click on her drawer /navi rebel_in 160/89 and choose Take to receive her lucky charm (Dien’s Envelope). You may choose “Examine it” first to see what the envelope contains.
9. Head back to OS (not instance anymore) and speak to Dien /navi sp_os 252/358 . After receiving the envelope, she will reward the player with Base and Job EXP, as well as teleport you to Cor. At this point, the OS Occupation side quest and Merc vs Merc daily quest will now be available.
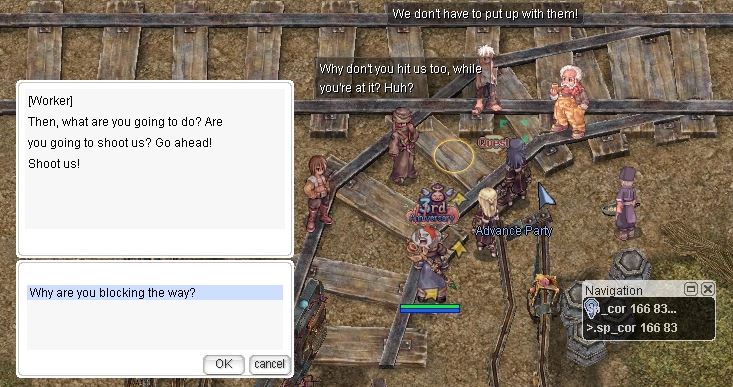
10. Once in Cor, walk North and talk to the Advance Party /navi sp_cor 166/83 . A commotion breaks between some Rebellions and Workers in the area.
11. Speak to Kaya Tos who appears alongside Aas and Tes.
12. Speak to Tes afterwards. Suddenly, Eliumina the Senior Researcher will appear. Threatenening your team for trying to meddle with his things, he proceeds to fire at everyone in front of him. The team will prompt you to head to a safe place.

13. Speak to Tes at /navi sp_cor 122/141 . Afterwards, Aas requests to privately converse with Kaya Tos. Head northeast and talk to Aas /navi sp_cor 135/147 . Continue chatting until the player receives Base/Job EXP. At this point, the Finding Patrick side quest will become available.
Part 5: The Capture of Eliumina
- Requirements
- Level Requirement: 110
- Quest Prerequisite: Old Memories and the OS Instance
- Monster Hunting: EL-A17T
- Rewards
- Base EXP: 1,500,000
- Job EXP: 1,750,000
- Item Reward: Damaged Weapon x1, Cor Cores x5
- Quest Rewards: Access to Cor Memorial Instance; access to Daily Quests: Farmwork
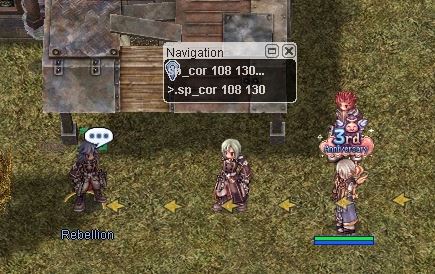
1. After the previous conversation with Aas, speak to Rebellion /navi sp_cor 108/130 .
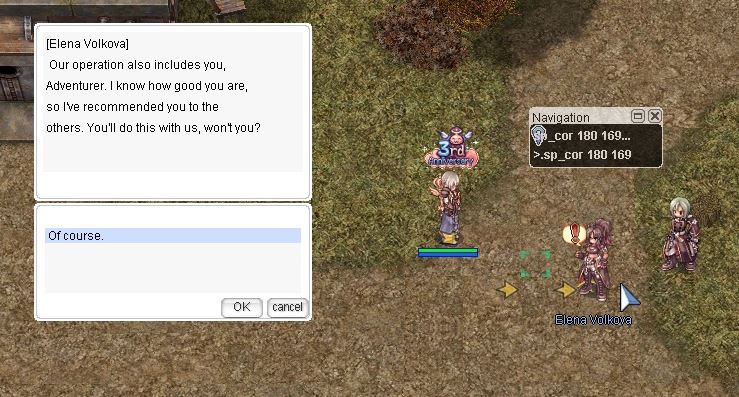
2. Talk to Elena Volkova who appears right after. Make your way northeast to the new quest marker in the minimap soon after.
3. Speak to Elena /navi sp_cor 180/169 to trigger the quest, generate the instance and enter it afterwards.
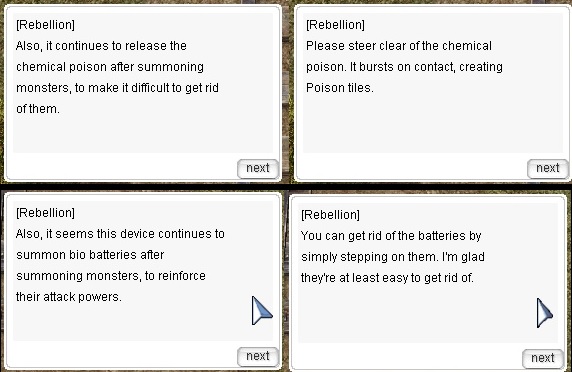
Note: This main quest instance can only be done solo. Low-DPS players running the instance will need to step on the Bio Batteries during the fight with EL-A17T to gain an extra buff to make the fight easier. More info about the batteries later on.
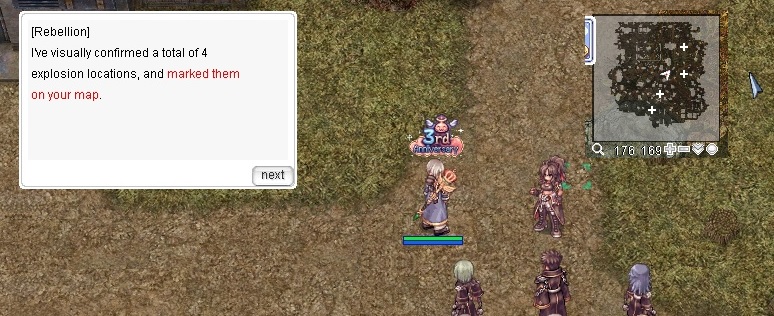
4. After spawning inside the instance, talk to Elena Volkova. Four quest markers will appear in the minimap; proceed to the two right-side markers.
5. Interact with boxes that appear, and monsters will spawn. After defeating them, speak to the Rebellions beside said boxes. They will mention about Poison Tiles which you need to avoid and Bio Batteries that you need to step on so as not to power-up monsters’ attacks.
6. A new quest marker will appear afterwards at coordinates 172, 223. Proceed towards it and then speak to Elena, who opens a portal leading to the next area.
7. Fight and eliminate a weakened version of the instance boss, EL-A17T. Bio Batteries (sprite similar to Constants) will spawn within the area during the fight. Approach/step beside them, and then move away as they do their detonate animation. These will summon a “Reinforcing Energy” NPC in the middle of the boss fight area. Interacting with it will grant the player a buff which gives +30 all stats, making killing the boss much easier. After defeating the MVP, a Rebellion NPC will appear with a caught Eliumina.
 | EL-A17T Lv118 Formless, Large, Neutral 3 HP 16412000, ATK 1525-2142, MATK 863-1376 DEF 355, MDEF 42 Required HIT 461, Required FLEE 490 |
Note: EL-A17T has access to various skills such as Magnetic Earth, AGI Up and Heal from Damage
8. Talk to Elena Volkova to leave the instance, and then talk to her again once outside. She will reward the player with Base and Job EXP, as well as 1x Damaged Weapon and 5x Cor Cores.

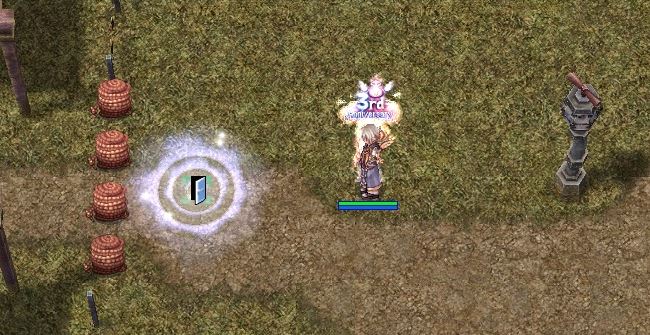
9. Speak to Gony at /navi sp_cor 137/210 , and then to Lookie. He reveals that Eliumina’s group is called Illusion with former members of Regenschirm compromising it. You later on agree to head towards the waterway and enter the Varmundt Mansion.
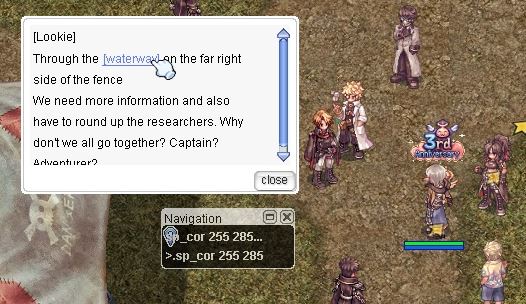
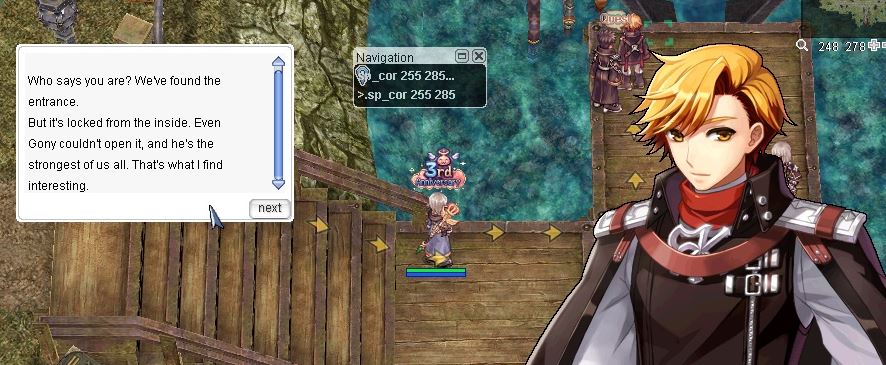
10. End of Episode 17.1: Make your way Northeast and talk to Lookie at
/navi sp_cor 255/284
. You find out that the entrance to Varmundt’s Mansion is locked from the inside, and no one is able to open it. He will then reward the player with Base and Job EXP. At this point, the Cor Memorial Instance and Farmwork daily quest will now be available. Exchange for Illusion Equipment and Enchant Modules are now unlocked as well.
You can now proceed to Episode 17.2: Legacy of the Wise One quest.
Cat on a Bullet Teleport Service
Once you have completed the main questline, you can access Mage Nillem’s teleportation service at the Cat on a Bullet base in Einbroch.
He will provide warps to the following maps at the cost of 500z:
- Heart Hunter War Base (que_swat)
- Rudus Dungeon 1F (sp_rudus)
- Cor Special Security Area (sp_cor)
- Varmundt Mansion Garden (ba_maison), which is unlocked after completing Part 1 of Episode 17.2 Main Quest*
Side Quests
SQ1: Learning about Morning
- Requirements
- Level Requirement: 110
- Quest Prerequisite: Investigation of Rudus Dungeon (on-going)
- Item(s) Consumed: Varies
- Rewards
- Item Rewards: Cor Core x1, Mysterious Component x5
1. While killing monsters inside Rudus Dungeon 1F for the Investigation of Rudus Dungeon part of the Main Quest, players have the option to initiate the Learning about Morning side quest by speaking to the child NPC named Morning located at the yellow mark /navi sp_rudus 125/195 of the minimap.

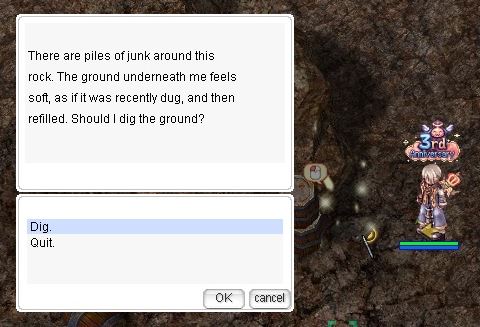
2. A shadow NPC with glowy effects and “Click Me” bubble can be seen near Morning. Interact with it and select “Dig.”
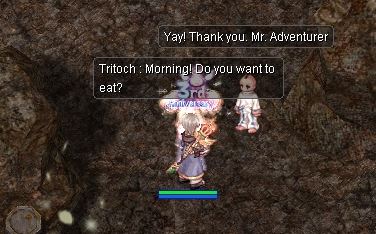
3. Speak to the child again, and select the “Chat” option to try and interact with it. Speak to the child and select the “Feed” option to know which loot item to bring. Prepare 10pcs of each and feed them to Morning. Speaking to Morning again after giving the correct items will reward the player with 1x Cor Core and 5x Mysterious Components. At this moment, the My Name is Morning Daily Quest will be available to the player.
SQ2: Befriending Morning
- Requirements
- Required Level: 110
- Quest Prerequisite: Learning about Morning Side Quest, My Name is Morning Daily Quest
- Item(s) Consumed: Poring Egg x1, Rocker Egg x1, Picky Egg x1, Lunatic Egg x1
- Rewards
- Item Reward: Cor Core x18 (Total)
1. Triggering the “Befriending Morning” side quest will require the player to have done the “My Name is Morning” daily quest for multiple days. After doing so and when possible, interact with the shadow NPC with glowy effects (the pile of junk near Morning) and dig up another letter.
2. After digging up the letter, the player will be tasked to give a specific Pet Egg to Morning, who will then give Cor Cores and some EXP as rewards. Note that this side quest can be down four times between a few days of successfully feeding Morning. Below are the order of letters, as well as the Pet Eggs required and the number of Cor Cores rewarded to the player:
| First Letter | Poring Egg x1 | Cor Core x5 |
| Second Letter | Rocker Egg x1 | Cor Core x4 |
| Third Letter | Picky Egg x1 | Cor Core x3 |
| Fourth Letter | Lunatic Egg x1 | Cor Core x6 |
3. The side quest finishes after turning in the Lunatic Egg and receiving the Cor Cores from the Fourth Letter.
SQ3: Data Obtained from the Lab
- Requirements
- Level Requirement: 110
- Quest Prerequisite: Retaking Regenschirm, the Rekenber Laboratory
- Reward
- Base EXP: 200,000
- Job EXP: 200,000
1. If you are able to interact with the Scattered Documents in the Guard’s Waiting Room (Fourth Room), you will be able to proceed with the Data Obtained from the Lab side quest. Simply talk to Tes again after receiving the previous rewards, and he will reward you with some Base and Job EXP.
SQ4: Finding Patrick
- Requirements
- Level Requirement: 110
- Quest Prerequisite: Old Memories and the OS Instance
- Rewards
- Base EXP: 600,000
- Job EXP: 600,000
- Item Reward: Cor Cores x20
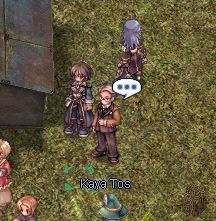
1. Speak to Kaya Tos at /navi sp_cor 136/146 . He requests you to continue searching for Patrick Kaufman.
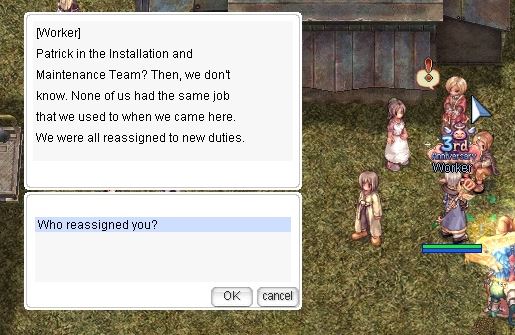
2. Talk to the Worker /navi sp_cor 132/143 nearby. She mentions that workers in the area do not have the same job since they are always reassigned to new duties.
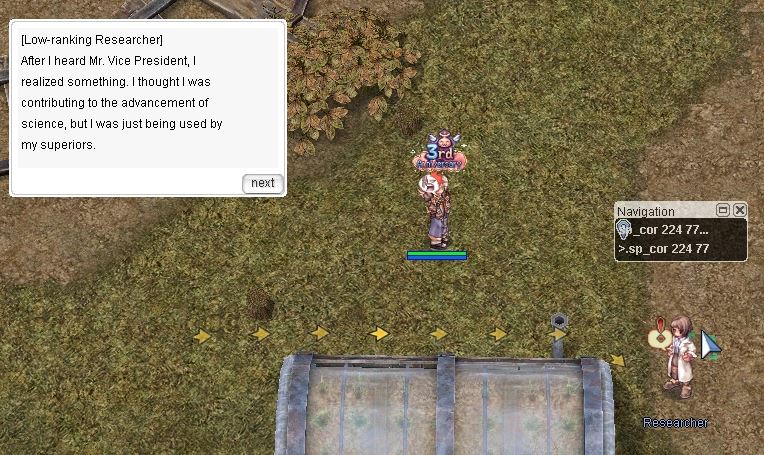
3. Head Southeast towards the farm and speak to Researcher /navi sp_cor 224/77 who was assigned there with thoughts of doing super vegetable research for animal food. He then directs you to the worker in charge of laundry duties.
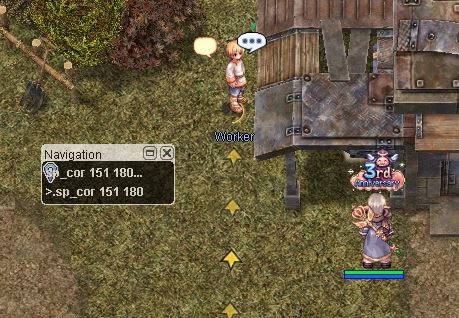
4. Find and speak to Worker /navi sp_cor 151/180 who reveals himself as Marcus Holtzman from Lighthalzen, and lover of Eva Mueler (the Protester). He tells the player to find information about Patrick at the Incineration Plant, before telling the player to let Eva know that he misses her.
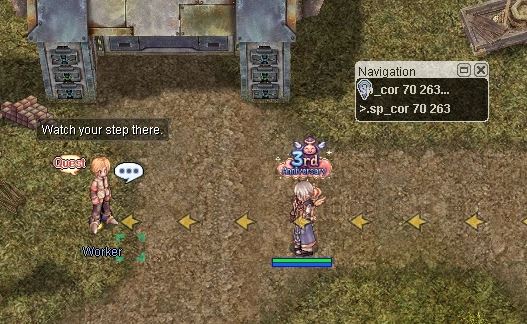
5. Proceed Northwest and talk to the Incineration Plant Worker /navi sp_cor 70/263 . He says that the researchers had a separate dump in the mountains for trash that couldn’t or were too contaminated to be burned. He also mentions knowing only Patrick Young, not Patrick Kaufman.
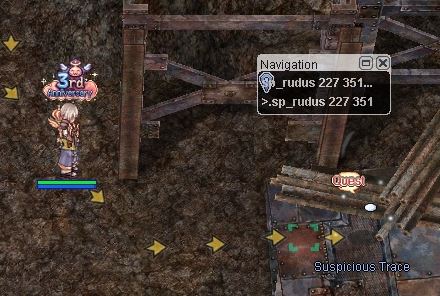
6. Make your way to Einbroch Field 05 and enter the Rudus Dungeon. Once inside, walk Southeast from the entrance until you find Suspicious Trace /navi sp_rudus 227/351 . Interact with it, and the player will hear some suspicious voices.
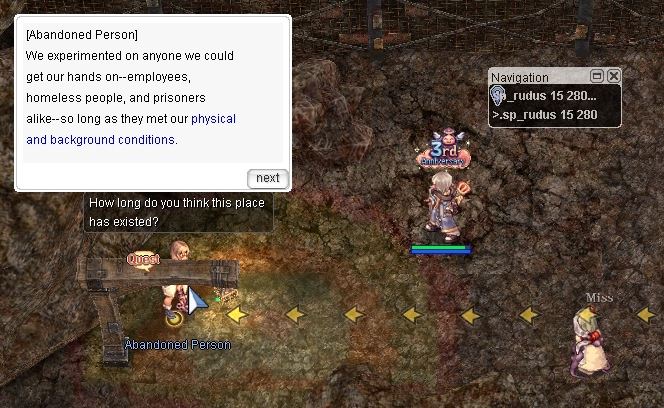
7. The voices lead you through the Closed Gate and to an Abandoned Person at /navi sp_rudus 15/280 . The person reveals herself as one of the researchers who used to experiment on people, and that the research team was responsible for the different missing persons cases in Schwartzvald. When asked about Patrick Kaufman, she says that he’s been long gone, and that she was one of the last few who were brought there.
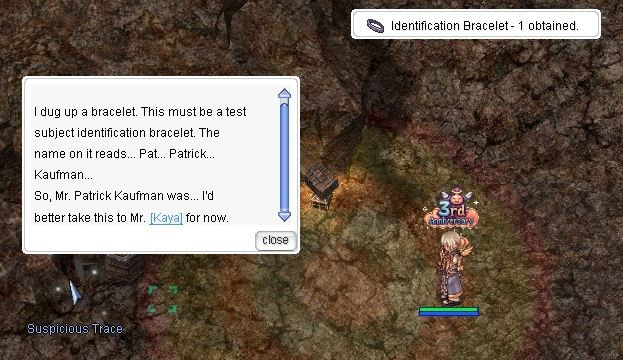
8. The researcher then asks you to look for Patrick Kaufman’s Identification Bracelet throughout the area. Interact with the Suspicious Traces marked in the minimap until you dig up a bracelet. Suspicious Traces are listed below:
| /navi sp_rudus 55/137 | /navi sp_rudus 124/195 |
| /navi sp_rudus 236/46 | /navi sp_rudus 332/235 |
| /navi sp_rudus 221/165 | /navi sp_rudus 364/134 |
9. Make your way back to Kaya Tos /navi sp_cor 136/146 and hand him the Identification Bracelet. He thanks and rewards the player with Base/Job EXP and 20x Cor Cores. He will then instruct the player to speak to Aas. At this point, the To Rudus side quest will become available.
SQ5: To Rudus
- Requirements
- Level Requirement: 110
- Quest Prerequisite: Finding Patrick
- Item Consumed: Identification Bracelet x10
- Monster Hunting: Dolor x20
- Rewards
- Base EXP: 300,000
- Job EXP; 300,000
- Item Reward: Cor Core x20
1. Speak to Aas at /navi sp_cor 135/147 . She tasks you to go to Rudus, put to rest some Dolors and retrieve some ID bracelets.

2. Head to Rudus and eliminate 20x Dolors. Identification Bracelets will be added directly into your inventory from killing Dolors. Collect a total of 10 pieces.
3. Head back to Aas in Cor. Hand over the ID bracelets, and you will be rewarded with Base/Job EXP, as well as 1x Cor Core and 5x Mysterious Components. At this moment, the To Rudus Daily Quest is now available.
SQ6: OS Occupation
- Level Requirement: 110
- Quest Prerequisite: Old Memories and the OS Instance
- Monster Hunting: Miguel x1
- Rewards
- Base EXP: 1,200,000
- Job EXP; 1,080,000
- Item Reward: Cor Core x5
1. Near the south exit of Cor, approach /navi sp_cor 164/56 and speak to Est Loveroy who appears there. Speak to her about the next operation which is to eliminate Mutants in OS, and she will ask you to prepare for it. Speak to her again to generate and then enter the instance.
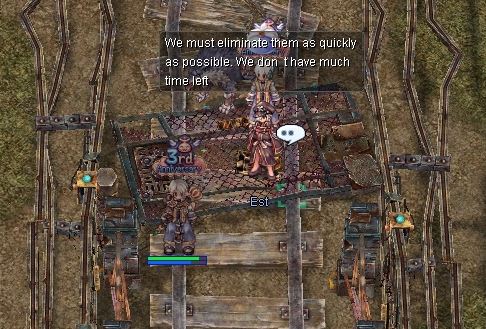
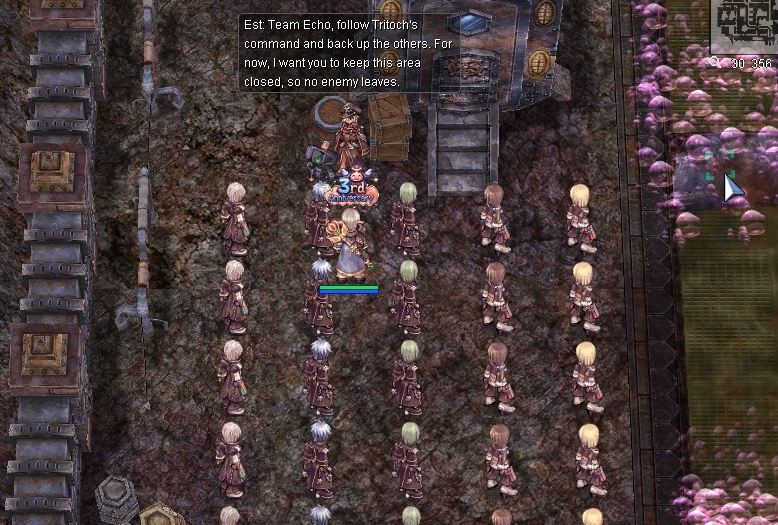
2. Once inside, listen to Est’s briefing of the mission. She mentions dividing the team into groups, and that you will be staying to communicate through the device beside her. Do NOT approach the pathways with the pink toxic gas effect.
3. Once Est and the other Rebellion NPCs disappear, some monsters will spawn. Eliminate them until the communicator device starts glowing. You may choose the encounter or engaging option that appears.
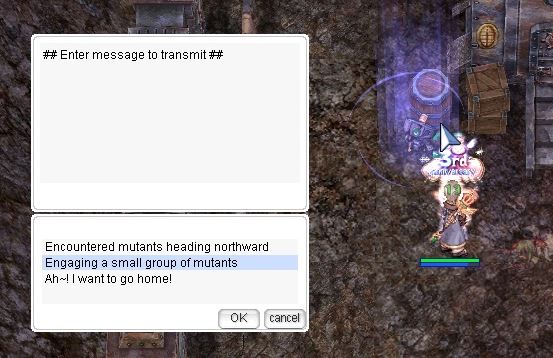
4. Monsters will continue to spawn at your location. Proceed to kill them like in the previous step. The device will glow again when Est asks you to support Team Alpha. Choose any of the engaging options again.

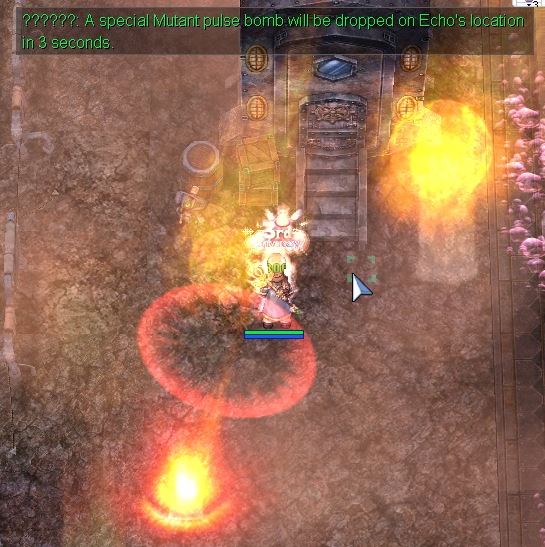
5. After some time, Mutant Pulse Bombs will drop on your location (effects similar to Meteor Storm), eliminating any remaining monsters and removing the toxic gases near your area.
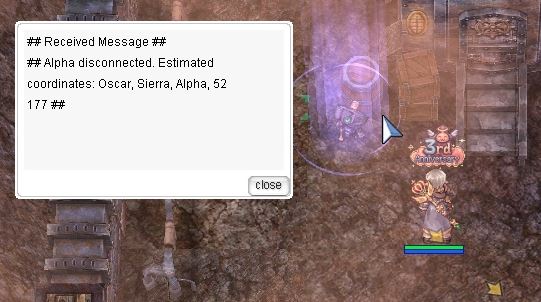
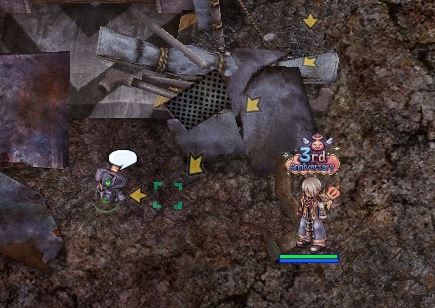
6. The communicator device will glow, and interacting with it will tell the player to move to coordinates 52/177. Navi arrows that will help lead you to the next location (South) will appear on the ground. Proceed towards that direction while eliminating monsters along the way.
7. You will find another device in the location. Interact with it and continue reading the messages until the device disappears. A new set of Navi arrows will appear and lead you to coordinates 85/258 (Northwest).
8. You will see the glowing blue effects on the ground (first checkpoint). Walk on top/nearby and you will hear some voices. A new set of Navi arrows will appear and lead you to coordinates 164/268 (East).
9. Another set of glowing blue effects will appear on the ground (second checkpoint). Walk on top/nearby to trigger it like the previous step. A new set of Navi arrows will appear and lead you to coordinates 138/175 (South).
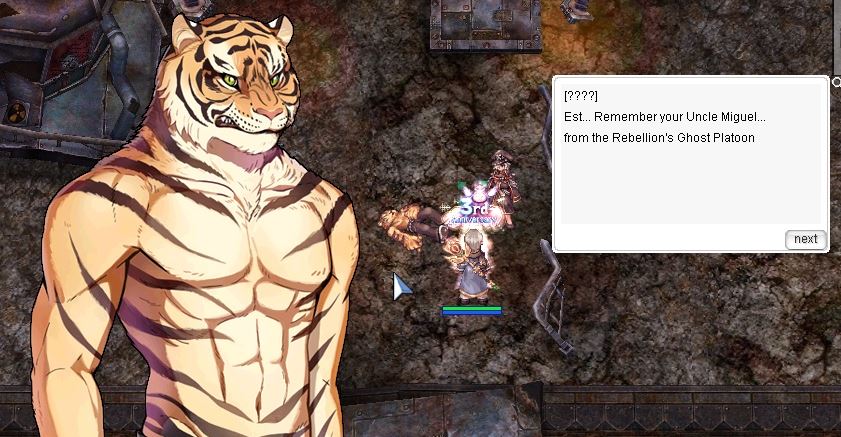
10. Find and approach the glowing blue effects on the ground (third checkpoint). You hear someone say “Grr…” and then directed towards coordinates 160/177 (just East of you). Proceed towards that direction, and a weakened version of Miguel will spawn. Eliminate him.
11. Once Miguel is defeated, Est will appear near the NPC Miguel’s body. Speak to Est, and it is revealed that the monster is her uncle. The player will be rewarded with Base/Job EXP and 5x Cor Cores.
12. Est mentions her team has found the Regenschirm research complex where the records Miguel mentioned are at. However, she will be unable to investigate as she is assigned to another mission. Speak to her again to leave the instance. At this moment, the 2nd OS Search Daily Quest will be available.

Daily Quests
After you complete the entire main quest, you’ll gain access to daily quests that can help you earn more Cor Cores and Mysterious Parts. These items can be used to exchange for equipment and to enchant that equipment.
Equipment Exchange & Enchantment
For more information about the equipment exchange and enchantment, refer to the guide below:
Was this helpful?
5 / 0